Collecting Logs
When troubleshooting issues with Juice, our support team may ask you to provide log files. These logs contain detailed information that helps us diagnose problems more effectively.
Step 1: Set the Log Level to Trace
To capture the most detailed information, you first need to set the log level to Trace.
For the Desktop App
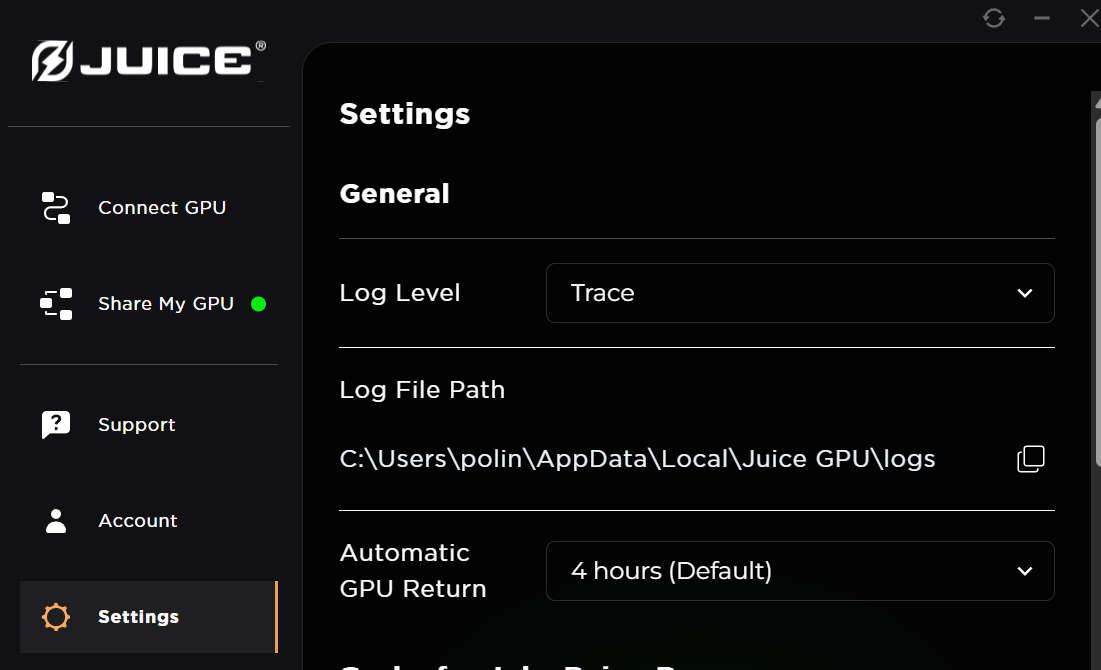
- Open the Juice Desktop App.
- Navigate to the Settings section.
- Find the Log Level dropdown menu and select Trace.
For the Command-Line Interface (CLI)
When using the CLI, add the --log-level trace flag to your command. This applies to both juice agent run and juice run.
Here are some examples:
juice agent run --log-level trace <poolID>
juice run --log-level trace python my_script.py
Step 2: Locate the Log Files
After running the application with trace logging enabled, the logs will be saved to a specific directory based on your operating system.
The log files are named using the patterns client-*.log, agent_service.log or agent-*.log. Please attach the most recently modified files when contacting support.
Windows
On Windows, you can find the logs in the AppData folder for your user profile:
C:\Users\<user>\AppData\Local\Juice GPU\logs
Linux
On Linux, the logs are located in a hidden configuration directory in your home folder:
~/.config/Juice GPU/logs
Step 3: Send the Logs
The log files are named using patterns like client-<session-id>.log, agent_service.log, or agent-<session-id>.log. When contacting support, please find the most recently modified log files and attach them to your ticket.
Help Improve This Page
Found a mistake? Want to contribute? Edit this page on GitHub or explore more editing options.